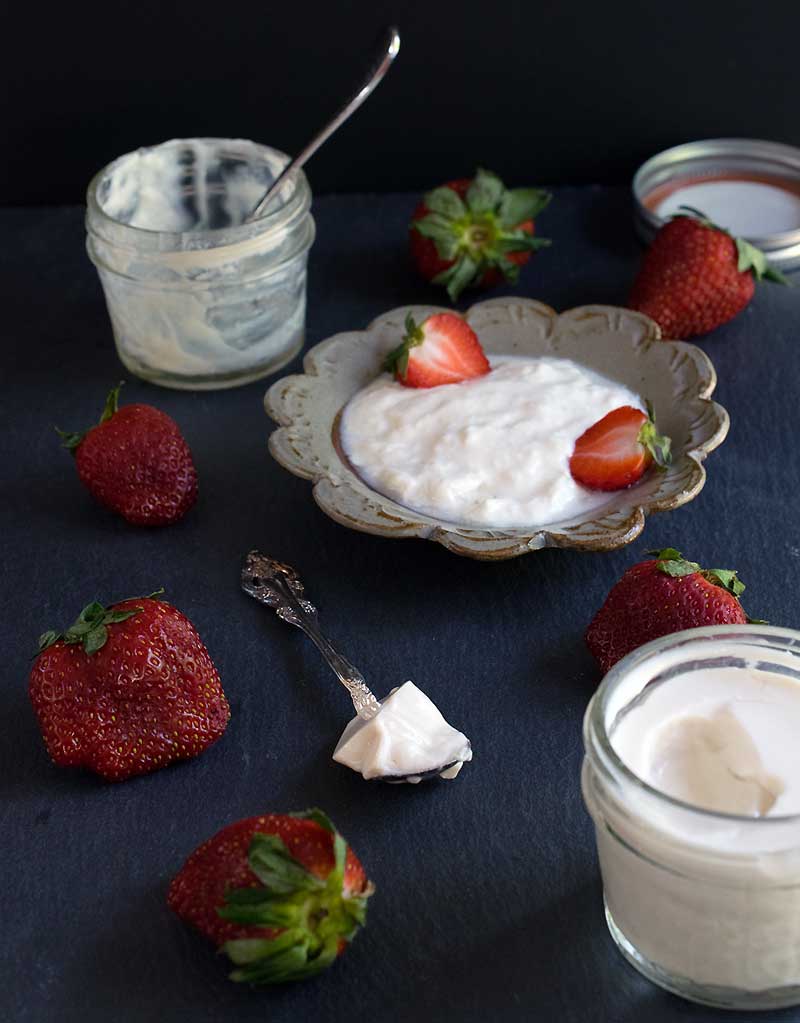
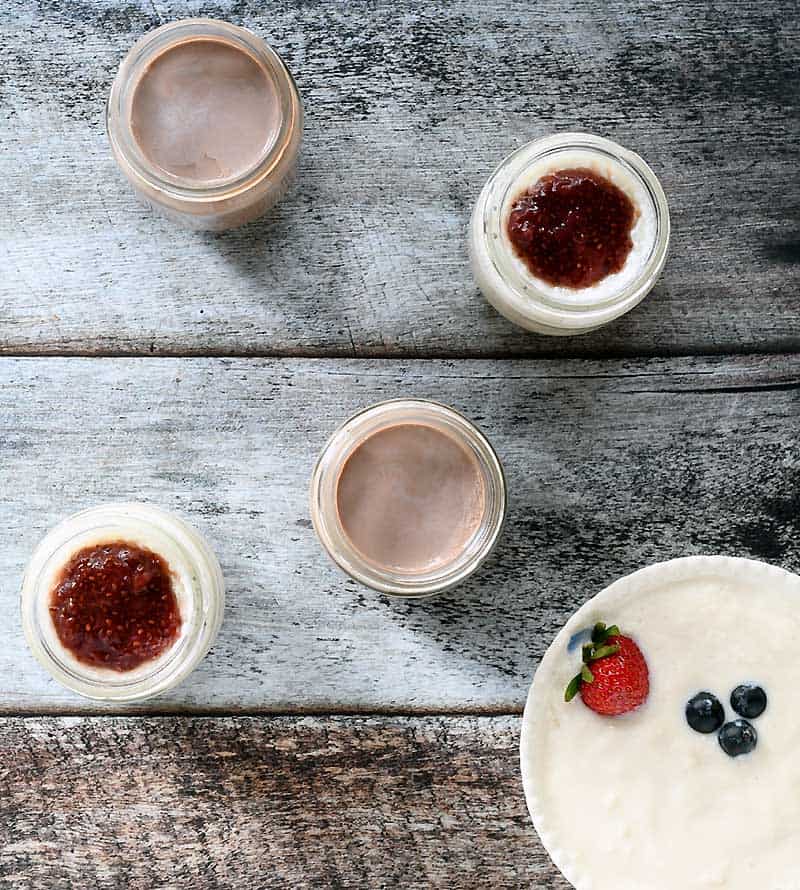
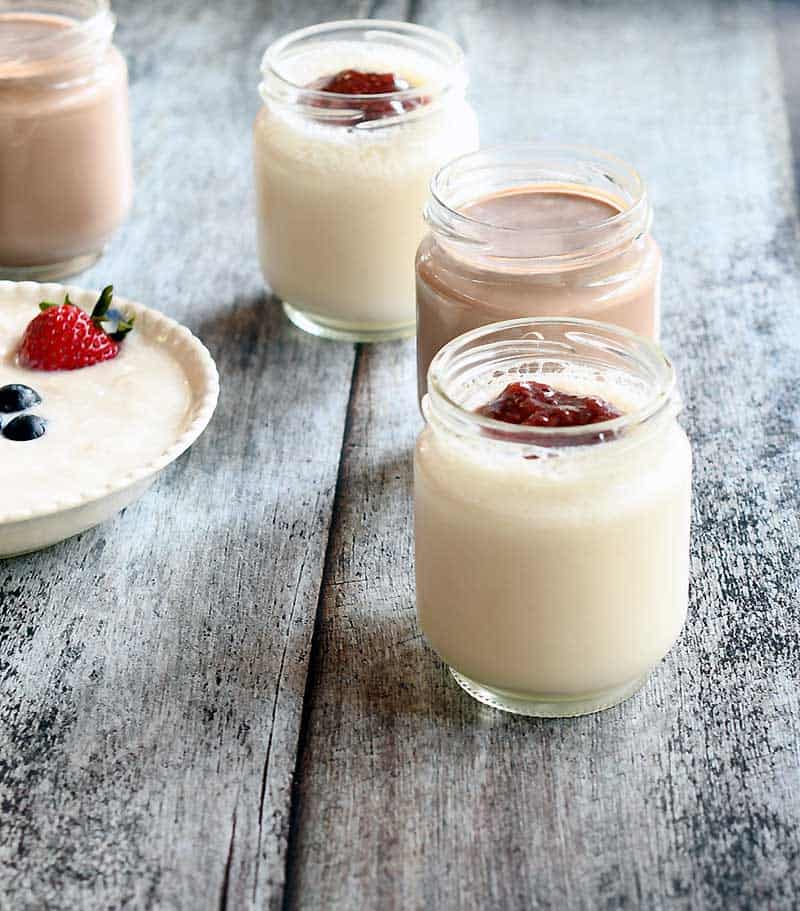
It’s easy to make your own vegan yogurt and it’s so much cheaper than store-bought. You don’t have to make yogurt in your Instant Pot, but since you’ve already got one – why not? In this post you’ll find a soy version and one that uses pea protein to get it to thicken up.

What do you need to make vegan yogurt?
You need soy milk or one with pea protein as an ingredient like Ripple to make the tested recipes in this post. Plus you need something to culture it with like a vegan yogurt culture or a vegan probiotic capsule.
You need a way to culture it, like in an Instant Pot on the yogurt setting, a yogurt maker, or you can even culture it in the oven by turning the light on.
Why doesn’t almond milk work in the soy milk yogurt recipe?
Almond milk doesn’t naturally contain the amount of protein needed to feed the culture and have it get thick on its own. You need to add thickeners to get it close to tradidional yogurt.
If you have your heart set on it try Full of Plants‘ or Nutrition Refined‘s recipes.

What vegan milk should I use?
If you pick the soy recipe you must make sure it has as few ingredients as possible. This is harder in refrigerated soy milk, so you will probably be best off with a shelf stable container of Westsoy, Trader Joe’s, or Eden.
If you choose the pea protein recipe, look in the refrigerated section for Ripple, Silk Protein, or another brand labeled high protein. For this recipe you don’t have to worry about how many ingredients are present, as long as it has pea protein. Try the chocolate milk—it turns into a probiotic dessert!
What to do if your yogurt separates
If your yogurt separates into whey—a yellowish liquid—and white thicker lumpy yogurt, don’t panic. You can still make Greek yogurt by straining it. You can also do that even if it doesn’t separate and you want a super thick yogurt.
If you strain it to troubleshoot you will probably need to blend it to make it smooth again. Place in the fridge and enjoy—I think this is better than plain yogurt. This makes a thick yogurt that becomes creamy after you blend it.
Don’t I need to heat the milk to make yogurt?
If you follow these recipes exactly and use the store-bought milk they call for you do not need to boil the milk first.
The reason is that you are using fresh already pasteurized products that are in date and not previously opened. That’s why we get to take a shortcut!

Why did nothing happen? My yogurt is liquid!
First off, I’m so sorry your yogurt didn’t turn out. There are lots of things that can go wrong.
- The vegan culture you used could be out of date or losing its potency, you may need a new one
- The mixture could have gotten too cold or too hot – it need to be cultured between 90-110F
- If using soy, there could have been too many ingredients in the milk
- Usually I need to culture it for over 12 hours, you might need more time especially if the weather is cooler
How to Make Greek Yogurt
Line a large strainer with a coffee filter. You can also use multiple layers of cheese cloth, but I think the coffee filter is easier to deal with and worth the investment if you want to make Greek yogurt often.
Set the strainer in a large bowl. Pour in the cultured yogurt. Place the bowl in your fridge and let it drain for 6 to 10 hours.
Use a spatula to scrape out every bit of the now-thick yogurt and store it in the fridge.
Do you have recipes that use vegan yogurt as an ingredient?
Of course! Once you have an unsweetened plain batch of yogurt, try my Instant Pot Creamy Mushroom Curry and Pilaf – Pot in Pot Method to test it out in a recipe.
You could try these Slow Cooker Cabbage Steaks from The Revised Vegan Slow Cooker in your IP on the slow cooker setting too. The yogurt is used as a topping!

Easy Instant Pot Soy Yogurt
Equipment
Ingredients
- 1 32-oz [946-ml] container plain unsweetened soy milk that has soybeans and water as its only ingredients
- 1 packet vegan yogurt starter I use Cultures for Health Vegan Yogurt Starter
- 1 tbsp 8 g tapioca starch (optional) as thickener
Instructions
- Whisk together the soy milk, starter and starch (if using) in a very clean mixing bowl. Either pour the mixture directly into the Instant Pot or pour into small glass jars. If you use glass jars you can sit them right on the pot bottom; there’s no need to use a rack.
- Put on the lid. You don’t have to close the valve, but if you do it could help the temperature stay more consistent. Select the yogurt setting. The default time is 8 hours, but I find the yogurt gets firmer without an added thickener if you let it culture for 12 or more hours. Be aware that the yogurt will also become tangier the longer it cultures.
- Store in the fridge for up to 10 days.
Notes
Nutrition

Instant Pot Yogurt without Soy!
Equipment
Ingredients
- 1 64-oz [1.9-L] container nondairy milk that contains pea protein
- 2 packets vegan yogurt starter or 2 RenewLife Ultimate Flora Probiotic capsules
Instructions
- Whisk together the nondairy milk and starter in a very clean mixing bowl. Pour the mixture into small glass jars: I recommend using 4-ounce (114-ml) glass jelly jars. They can be easily sterilized and reused, and the yogurt thickens better in the smaller jars. Note: You do not need to use a rack.
- Put on the lid. You don’t have to close the valve, but if you do it could help the temperature stay more consistent.
- Select the yogurt setting. The default time is 8 hours, but I find the yogurt gets firmer without an added thickener if you let it culture for 12 or more hours. Be aware that the yogurt will also become tangier the longer it cultures.
- Store in the fridge for up to 10 days.
Scott Gardner says
If my instant pot doesn’t have a yogurt setting can it still be used? If so, what setting and how long?
Kathy Hester says
No, you need the yogurt setting to make it in your IP.
Didi says
hello, i was wondering if i could replace the tapioca starch with corn starch as i don’t have any on hand
Kathy Hester says
Tapioca startch should work fine.
Adrienne Marie Wilson says
Can I use some of the yogurt from this recipe to make another batch and not have to have to buy more starter?
Gerry says
Hello,
I see the tapioca starch is optional. If I do without and still strain it, will that result in thicker yogurt? Also do you keep some from your batch to make a new batch or just use new yogurt starter?
Thank you!
Kathy Hester says
Tapioca starch will thicken it. You can use some of this batch to start the next, but eventually you’ll need a starter again to refresh it.
Gerry says
Can we use any size glass jars like 16oz mason jars? Is there a reason to do \”small jars\”. And if doing jars, can we put them directly in the bottom of instant pot, or should we use the trivet?
Thanks
Kathy Hester says
You can use any size, but I like to do single servings. You can place them right on the bottom with no trivet.
SP says
If using a probiotic capsule, do I have to dissolve it before adding to the milk?
Kathy Hester says
No you stir it in in as is.
Maria says
Hello. I’m wondering if you can use some yogurt from the previous batch to make more yogurt instead of using a starter every time. Thank you.
Cassie says
I’m using the soy yogurt recipe. If I want to make bigger batches do I just multiply all the ingredients or is there a specific way to increase the portions and still get the same quality yogurt?
Kathy Hester says
It does best in jars, so that means smaller amounts. And by best it gets thicker. I have never done a double batch, so I’m not sure if you’ll need more time or if you will end up straining it to make it thick enough.
Just know that straining will give you 1/2 the volume you start with.
Kylie says
Can you use some of your made yogurt as the starter for the next batch? That’s what I do for my husbands dairy Greek yogurt…
Kathy Hester says
You can but there is a limit to the number of times it works before you need to refresh it with a starter.
Beth says
If you are using a refrigerated milk like ripple don’t you need to warm it to at least room temp before mixing in the starter? If so would leaving the unopened container on the counter work? I’ve made homemade yogurt for years using the shelf stable soymilk but I always scalded the milk first.
Kathy Hester says
I do not warm it to room temp, because it will warm in the Instant Pot on its own. The most important thing is that the vegan milk is not too hot, because that would kill the culture.
Also if you use shelf stable milk you don’t need to scald it and let it cook first, because that was done before it was packaged. But if you make homemade milk, you do need to heat it to kill off any bacteria we don’t want to grow while we culture it.
Beth says
Thanks. I’m going to try this in the next couple of days! I’ve got a bottle of ripple in the fridge waiting to be yogurt!
Carrie says
Can you tell me where you buy Cultures for Health starter? (I’m on Vancouver Island). Also, it’s so expensive…how many times can I make a new batch with a few tablespoons of the old batch? Thanks so much – I’d love for this to work….
JoAnn M Lakes says
I use tapioca starch in my yogurt but I always heat my milk since the starch seems to work much better if heated to at least 145 F to activate and then cool down to 115F before adding my starter. I have to strain my yogurt since my husband loves THICK yogurt. I make 6 pints of yogurt every 2 weeks so believe me I love using the instant pot method!
Love your sites!!!
Jacque Kimball says
I don’t have tapioca starch or cornstarch. Will adding some soy milk powder to my plain Westsoy soy milk help to thicken soy yogurt?
Kathy Hester says
It may thicken on its own, or try it in jars to help make it thicker. I have not tried adding soy milk powder, but it couldn’t hurt!
Ann Secord says
I have a number of replies as I’ve been making soy yogurt weekly for years.
1. When I switched to the soy milk with the highest protein I could find: 8grams is the one I use it has almost no whey and is very thick.
2. I always use the last 1/2 cup or so of the yogurt I have left to make the next batch. I eat it every am for breakfast so the 6 containers I have for the 6qt IP last long enough so I don’t have any mold growth which would mean I need to throw it out and get new starter.
3. The IP I have in my other condo doesn’t have a yogurt setting but can be set at specific temps. When I make it there I think I set the temp at 110 F.
Ann Secord says
I have a number of replies as I’ve been making soy yogurt weekly for years.
1. When I switched to the soy milk with the highest protein I could find: 8grams is the one I use it has almost no whey and is very thick.
2. I always use the last 1/2 cup or so of the yogurt I have left to make the next batch. I eat it every am for breakfast so the 6 containers I have for the 6qt IP last long enough so I don’t have any mold growth which would mean I need to throw it out and get new starter.
3. The IP I have in my other condo doesn’t have a yogurt setting but can be set at specific temps. When I make it there I think I set the temp at
Ann Secord says
Just wanted to add the latest iteration of my weekly yogurt making. Since we go through so much plant based milk I invested in a large volume nut milk maker. We LOVE it. After experimenting with the amount of nuts to water I’ve gotten the best results with 3 tablespoons of soy nuts to 20 oz of water. This yields a higher protein milk which, after 24 hours on the yogurt setting is a beautiful, thick yogurt with barely any whey.
Jill Russell says
How much yogurt would I add if I’m not using the capsules? thanks
Kathy Hester says
A tablespoon usually works, but some yogurts that have a lot of gums may not work.